Connect an Unfolded Circle remote to VoidVideo
Use the VoidVideo integration to open the processor menu, navigate its settings, and view status from your Unfolded Circle remote.
For help opening the configurator, see Unfolded Circle’s Web Configurator instructions. Keep the remote awake or docked during setup.
Connect the processor
- Start VoidVideo on your processor.
- Connect the processor and remote to the same local network.
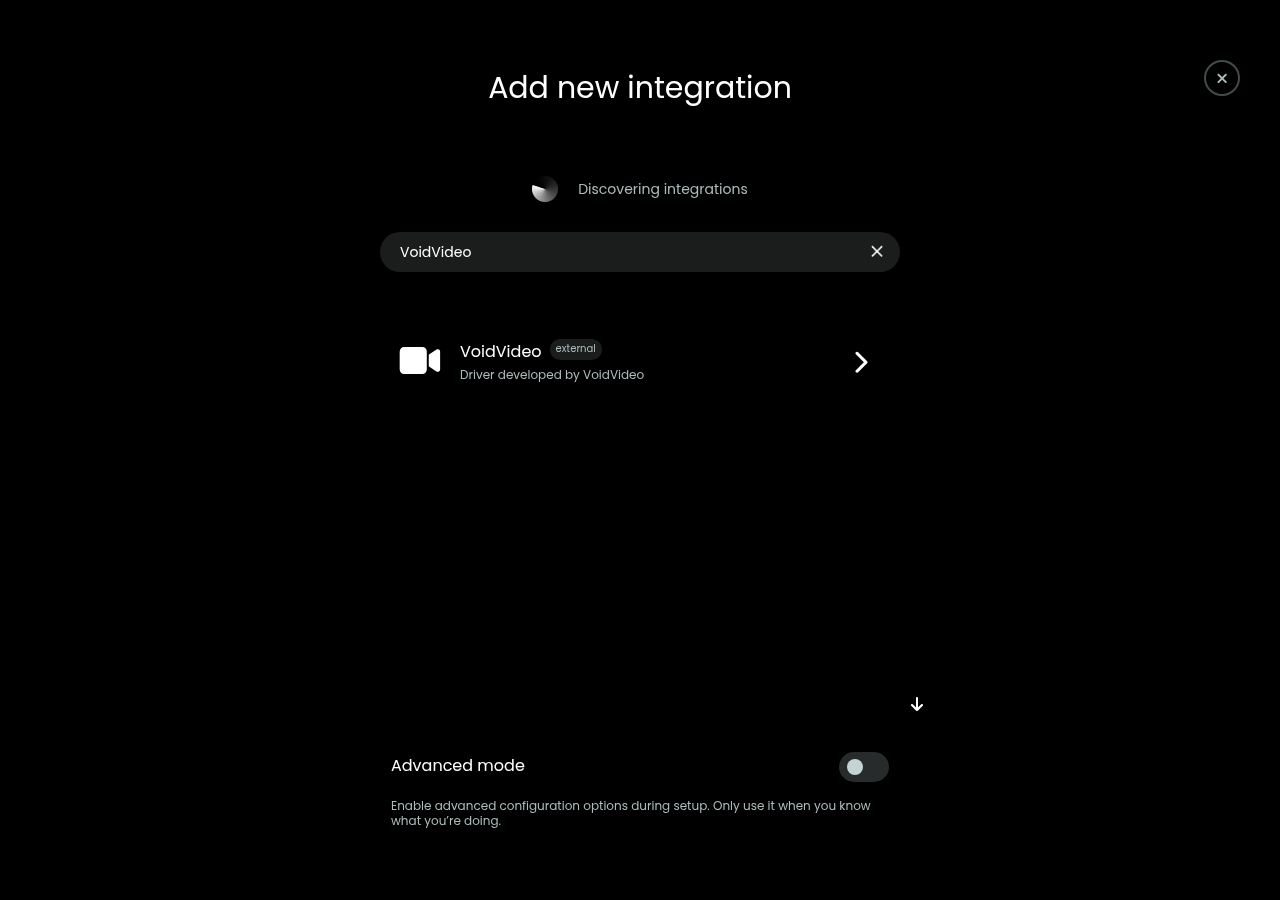
- Open the remote's web configurator. Choose Integrations → Add new → Add new integration.
- Select VoidVideo — your processor hostname. If you have several processors, choose the matching hostname.
- Complete registration, then continue through the Connect VoidVideo setup page. No access token is required.
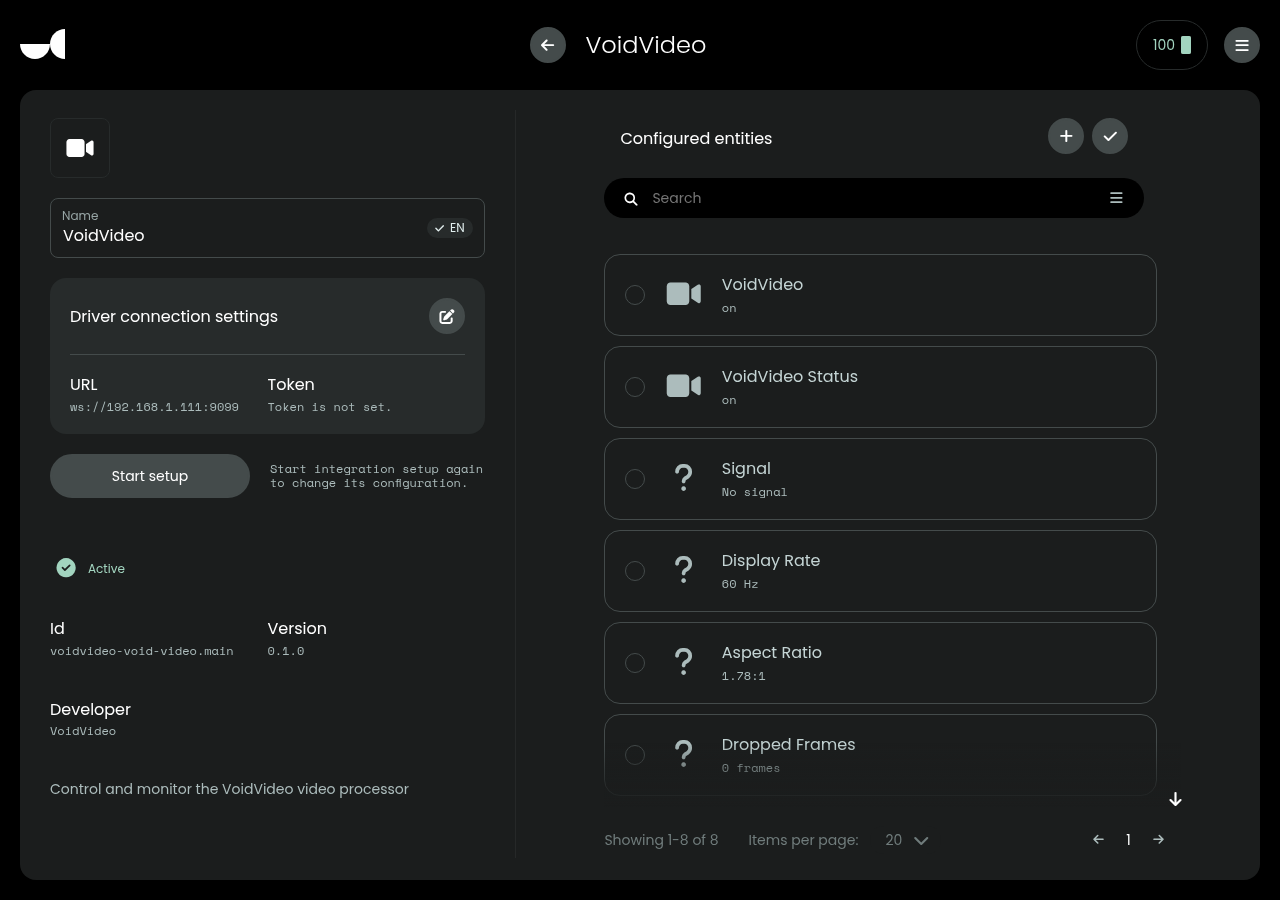
- Open the VoidVideo integration and click + above Configured entities. Add the VoidVideo remote entity. VoidVideo Status and the Signal, Display Rate, Output Resolution, Aspect Ratio, Dropped Frames, and Latency sensors are optional. Already configured entities do not appear in the Add entities list.
Choose VoidVideo in Add new integration.
Confirm Active and add the remote entity with the + button.
Keep VoidVideo running while using the remote.
Add controls to an activity
Add the VoidVideo remote entity to the activity you use for watching video, and use its supplied button mappings and Control and Tools pages. If the activity already uses those physical buttons for another device, choose which entity should handle them in the activity editor.
Physical buttons
With the VoidVideo controls assigned to your activity, use these buttons:
| Physical button | VoidVideo action |
|---|---|
| Home | Show or hide the VoidVideo menu |
| D-pad | Navigate the VoidVideo menu |
| D-pad center / OK | Confirm the highlighted selection |
| Back | Return to the previous menu |
| Menu | Show or hide statistics and metering |
The Control touchscreen page includes Menu, navigation, and Back. Tools includes Stats and Reset Stats.
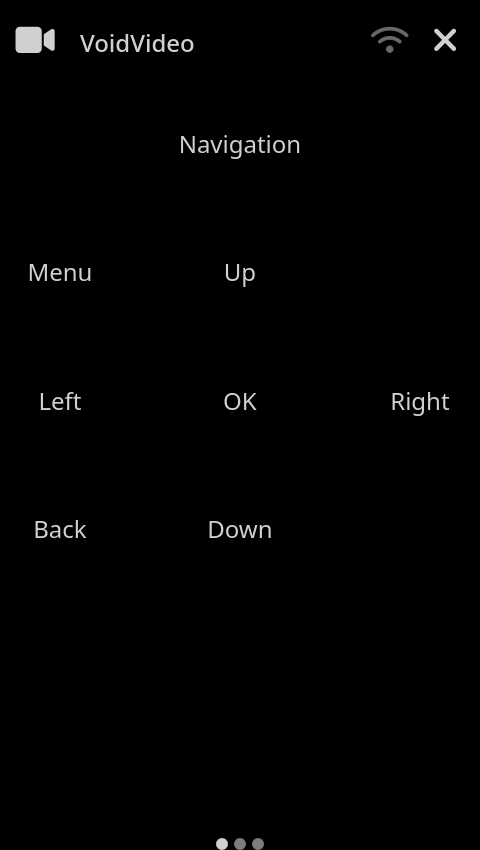
Start the activity and press Home. The VoidVideo menu should appear; use the D-pad and its center button to confirm navigation works.
Use screen presets
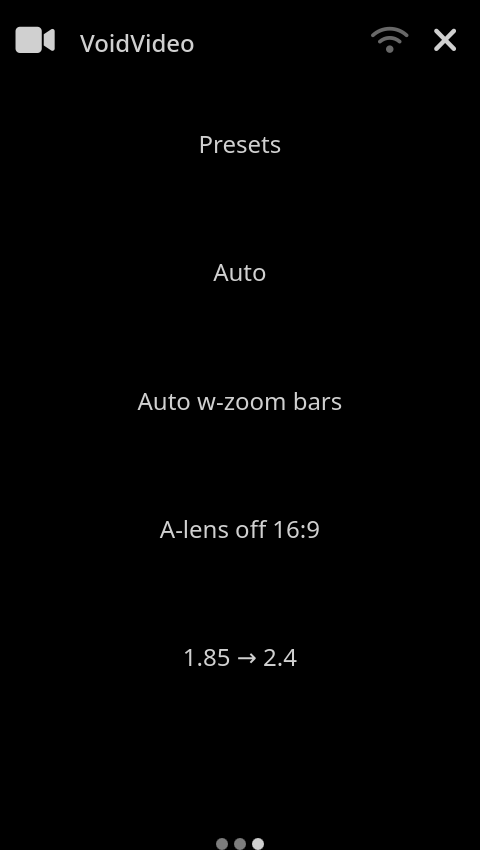
Save your screen presets in VoidVideo under Screen Configuration → Presets. Open the Presets touchscreen page and tap a preset name to apply it. Create the presets before adding the entity's controls to your activity. After changing presets, refresh the entity's supplied controls in the activity editor if the remote still shows the old names.
Example preset names:
Signal reports input resolution and input frame rate. Output Resolution reports render-output dimensions; Display Rate reports configured refresh rate. No signal means there is no usable input signal.
Connect manually if discovery finds nothing
Use the web configurator's option to add an external integration by URL, with:
ws://<processor-ip-address>:9099Replace the placeholder with the processor's IPv4 address. Leave the access token empty, then follow the setup and activity steps above. Use a stable address or a DHCP reservation if you configure the URL manually.
If a manual connection also fails, confirm VoidVideo is running and that the network allows the remote to reach the processor on TCP port 9099. Automatic discovery additionally needs local multicast DNS on UDP port 5353; guest Wi-Fi or separate network segments may block it. Check the processor log for a listener or discovery error.